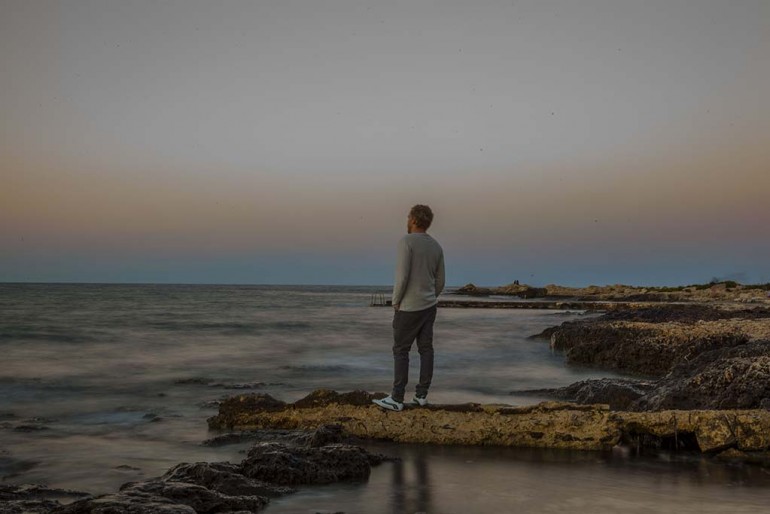
Would you like to take beautiful images of dramatic clouds, creamy water, light trails after cars and the night sky? It’s easy. Here is how you do it.
You need a tripod. It is sometimes possible to place the camera on railings, stones or other objects, but a good tripod is the most important thing to have, if you want to shoot long expo images.
Sometimes a motive that is rather boring can be very beautiful if you just prolong the exposure with a few seconds or minutes. But using long exposures do not compensate for poor composition or bad motives. As with all photography the best time is usually early mornings or around sunsets, not least because the light is not as strong then.
ND filters are necessary during daytime
If you want to shoot using long exposure during daytime a ND (Neutral Density) filter is necessary. They come in different gradients and 5 or 10 strength is the most useful at daytime.
You can of course use Polaroid filters, tinted glass or anything that will reduce the light. You’ll have to experiment or wait until it’s darker without a ND filter.
If you are using your mobile there are plenty of apps available, for example Long Expo or Slow Shutter, which are available in free versions. Read more abut them here.
There are also calculators available for your smartphone for getting the settings right with your camera. They may be handy since the trial and error method can be a test for your patience when exposure times are 30 seconds or more.
Shoot manually
Set the camera ISO value as low as possible and the aperture value as high as you can. You can also choose aperture or time priority to get as long exposure time as possible, but the ISO value must always be set manually. Otherwise your camera will try to get the shortest time for exposure and increase the ISO value with poor quality images as a result.
We recommend you shoot and edit in RAW. Besides all the great advantages in other aspects, you’ll be able to gain an additional couple of f-stops and if the exposure is not exactly right you’ll be able to correct it afterwards.
Many cameras don’t offer settings for longer exposure than 30 seconds. That is quite enough for many motives, but if you need more you should use the Bulp mode. The camera will open the shutter and you’ll have to check the time yourself. There are remote controls for opening and closing the shutter manually and you’ll need something, since holding your hands on the camera for such long time is likely to cause blur.
How long you need to expose depends on the motive.
Water. For fast running water such as rapids or streams 20 seconds will probably be enough. Sea waves are rather slow and to make it look really smooth you’ll most likely need more than 30 seconds, a couple of minutes may be required.
Clouds. The same applies for clouds, and you need to take the image on a day when the clouds are low and moving. And of course the sky needs to be dramatic.
Traffic is easy. You’ll get great effects if there are many cars moving at 10 seconds.
Night sky. The stars are starting to become small lines at already 15 seconds and the moon becomes blurred. So for night skies you’ll either need rather short exposure times or really long. If you want light trails from the stars you need several minutes to achieve the effects you want. You’ll also need a clear, dry sky, free from pollution and stray light. Go to the country, far away from cities or large roads.
You can of course also use different techniques such as HDR (which will increase the blur, since there are many exposures to an image), and using flashes to freeze moving objects.
Now all you need to do is to take your camera and a tripod and start experimenting.
[masterslider id=”1″]

