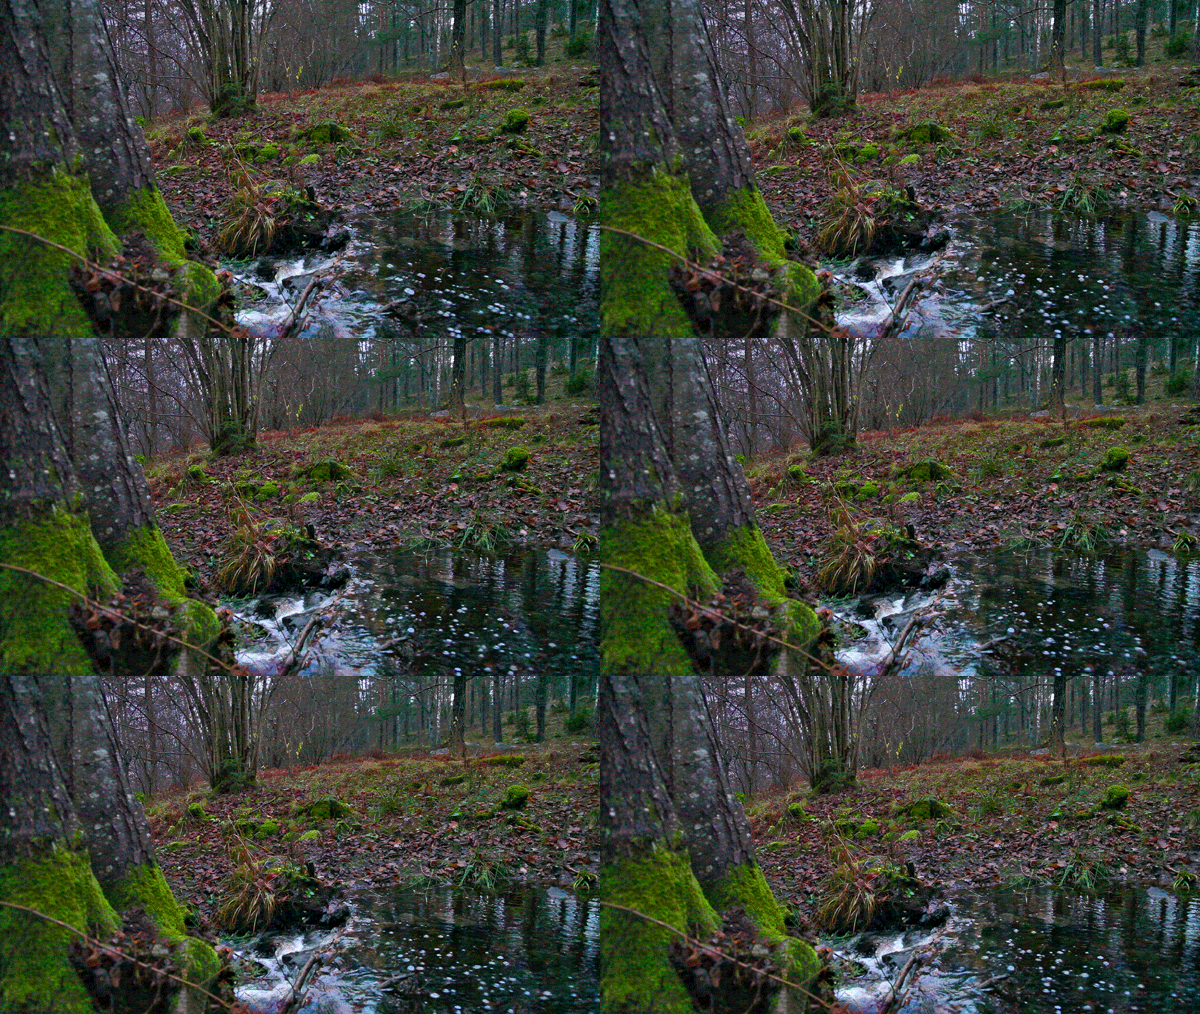
You have probably seen them – still images with movements within. Water flowing through a landscape, fountains, waterfalls, women’s hair moving in the wind, dogs and cats blinking and so on. They are called cinemagraphs. This is about what it is and how you can make them yourself.
Art is transforming with changing medias. Today paper is no longer the most common media for photography. Most images are shown and distributed digitally, which presents new possibilities.
GIF animations, an old file format makes cinemagraphs possible. It was developed long ago, probably with banner ads in mind. Then Adobe Flash came with higher quality and more possibilities. GIF animations have however become popular again, since many new devises such as Apple iPhone and iPad don’t support Flash.
The term cinemagraph was, introduced long after the invention of the GIF file format, by two American artists, Keving Burg and Jamie Beck. They used it to make animated images for companies like Armani. Check out some of their work here.
GIF animations made the simple or advanced way
A video or a series of images can be transformed into a GIF animation. The exact definition for a cinemagraph is somewhat unclear, but we see two different kinds of images. One is when you shoot a video or a series of images to create a living image, the other is when you create a still image where only a part of the image is moving.
There are many cheats to create a living image quick and easy. We will mention a few and also demonstrate how to make an advanced cinemagraph in Photoshop.
Simple app for your mobile
There are many apps for those of you who want to use your smartphone. We have tried some of the most popular ones. The probably easiest is Cinemagram. You can even use it on freehand, even if a small tripod is preferable. It simply takes a short video, isolates whatever moves in it and freezes the rest. Then you can save the GIF file to different social medias and to Cinemagram, very much like you do with images on Instagram.
Make a time-lapse or a series of images
Another simple variant is to take a series of images with your camera (use a tripod). It’s necessary that all images are edited the same.
I have one example here, where I marked all the images in Photoshop Camera Raw, made all the adjustments, saved the images as jpg and made a video of them from a free app for Mac called Zeitraffer. It makes it easy to set how many frames to be shown per second and is perfect for time-lapse videos.
I then opened the video in Photoshop and saved it for web with 256 colours and looping forever settings. GIF files can be very large so reduce the size to no more than 1024 px wide. You can also reduce images per seconds (fps) or reduce the size further if needed.

This is a video that was adited in Photoshop. The videoframes was copied and added in reverse order to create a smooth loop.
If you want to make it really simple
Google Images is a service where you can store and backup your images. The will sometimes apply special effects on a series of images and of course you can also apply this special effect yourself and create GIF-animations from a series of images. Then you can download it or share through Google+.
But this method makes the entire image animated. If you plan to make really cool stuff you will probably prefer to do it your self in Photoshop. Read about how make a cinemagraph in Photoshop here.


